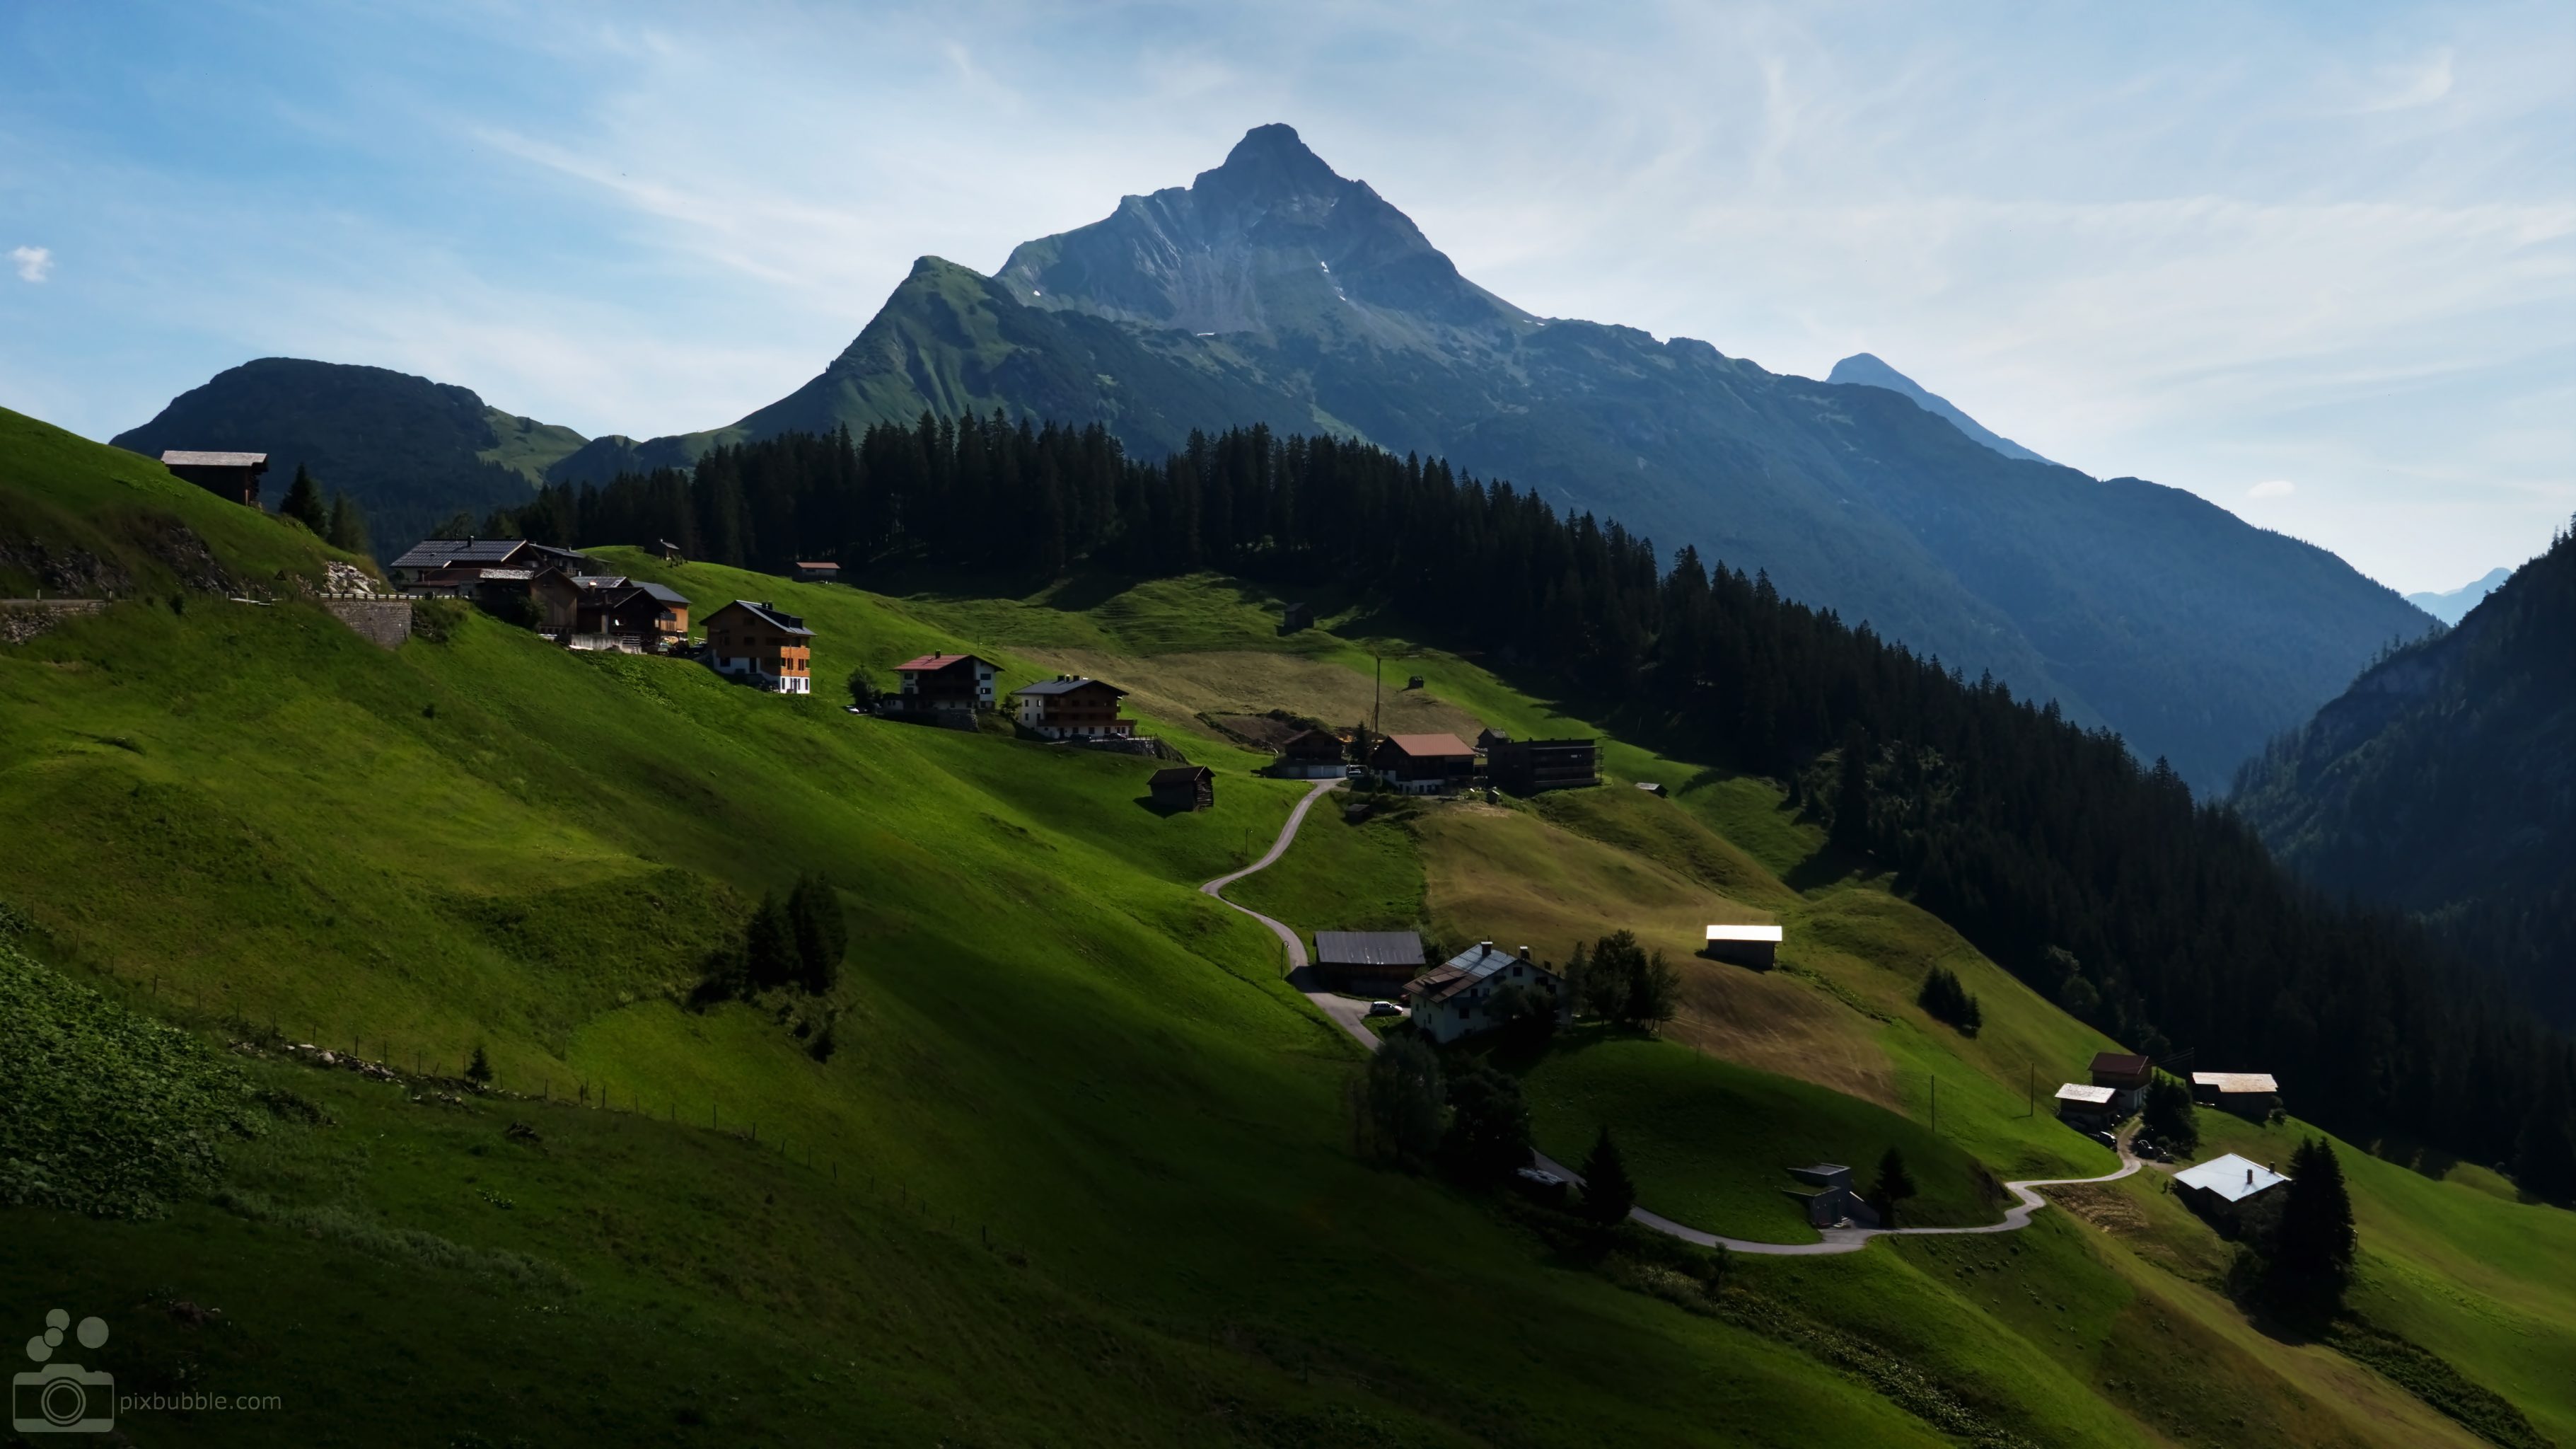
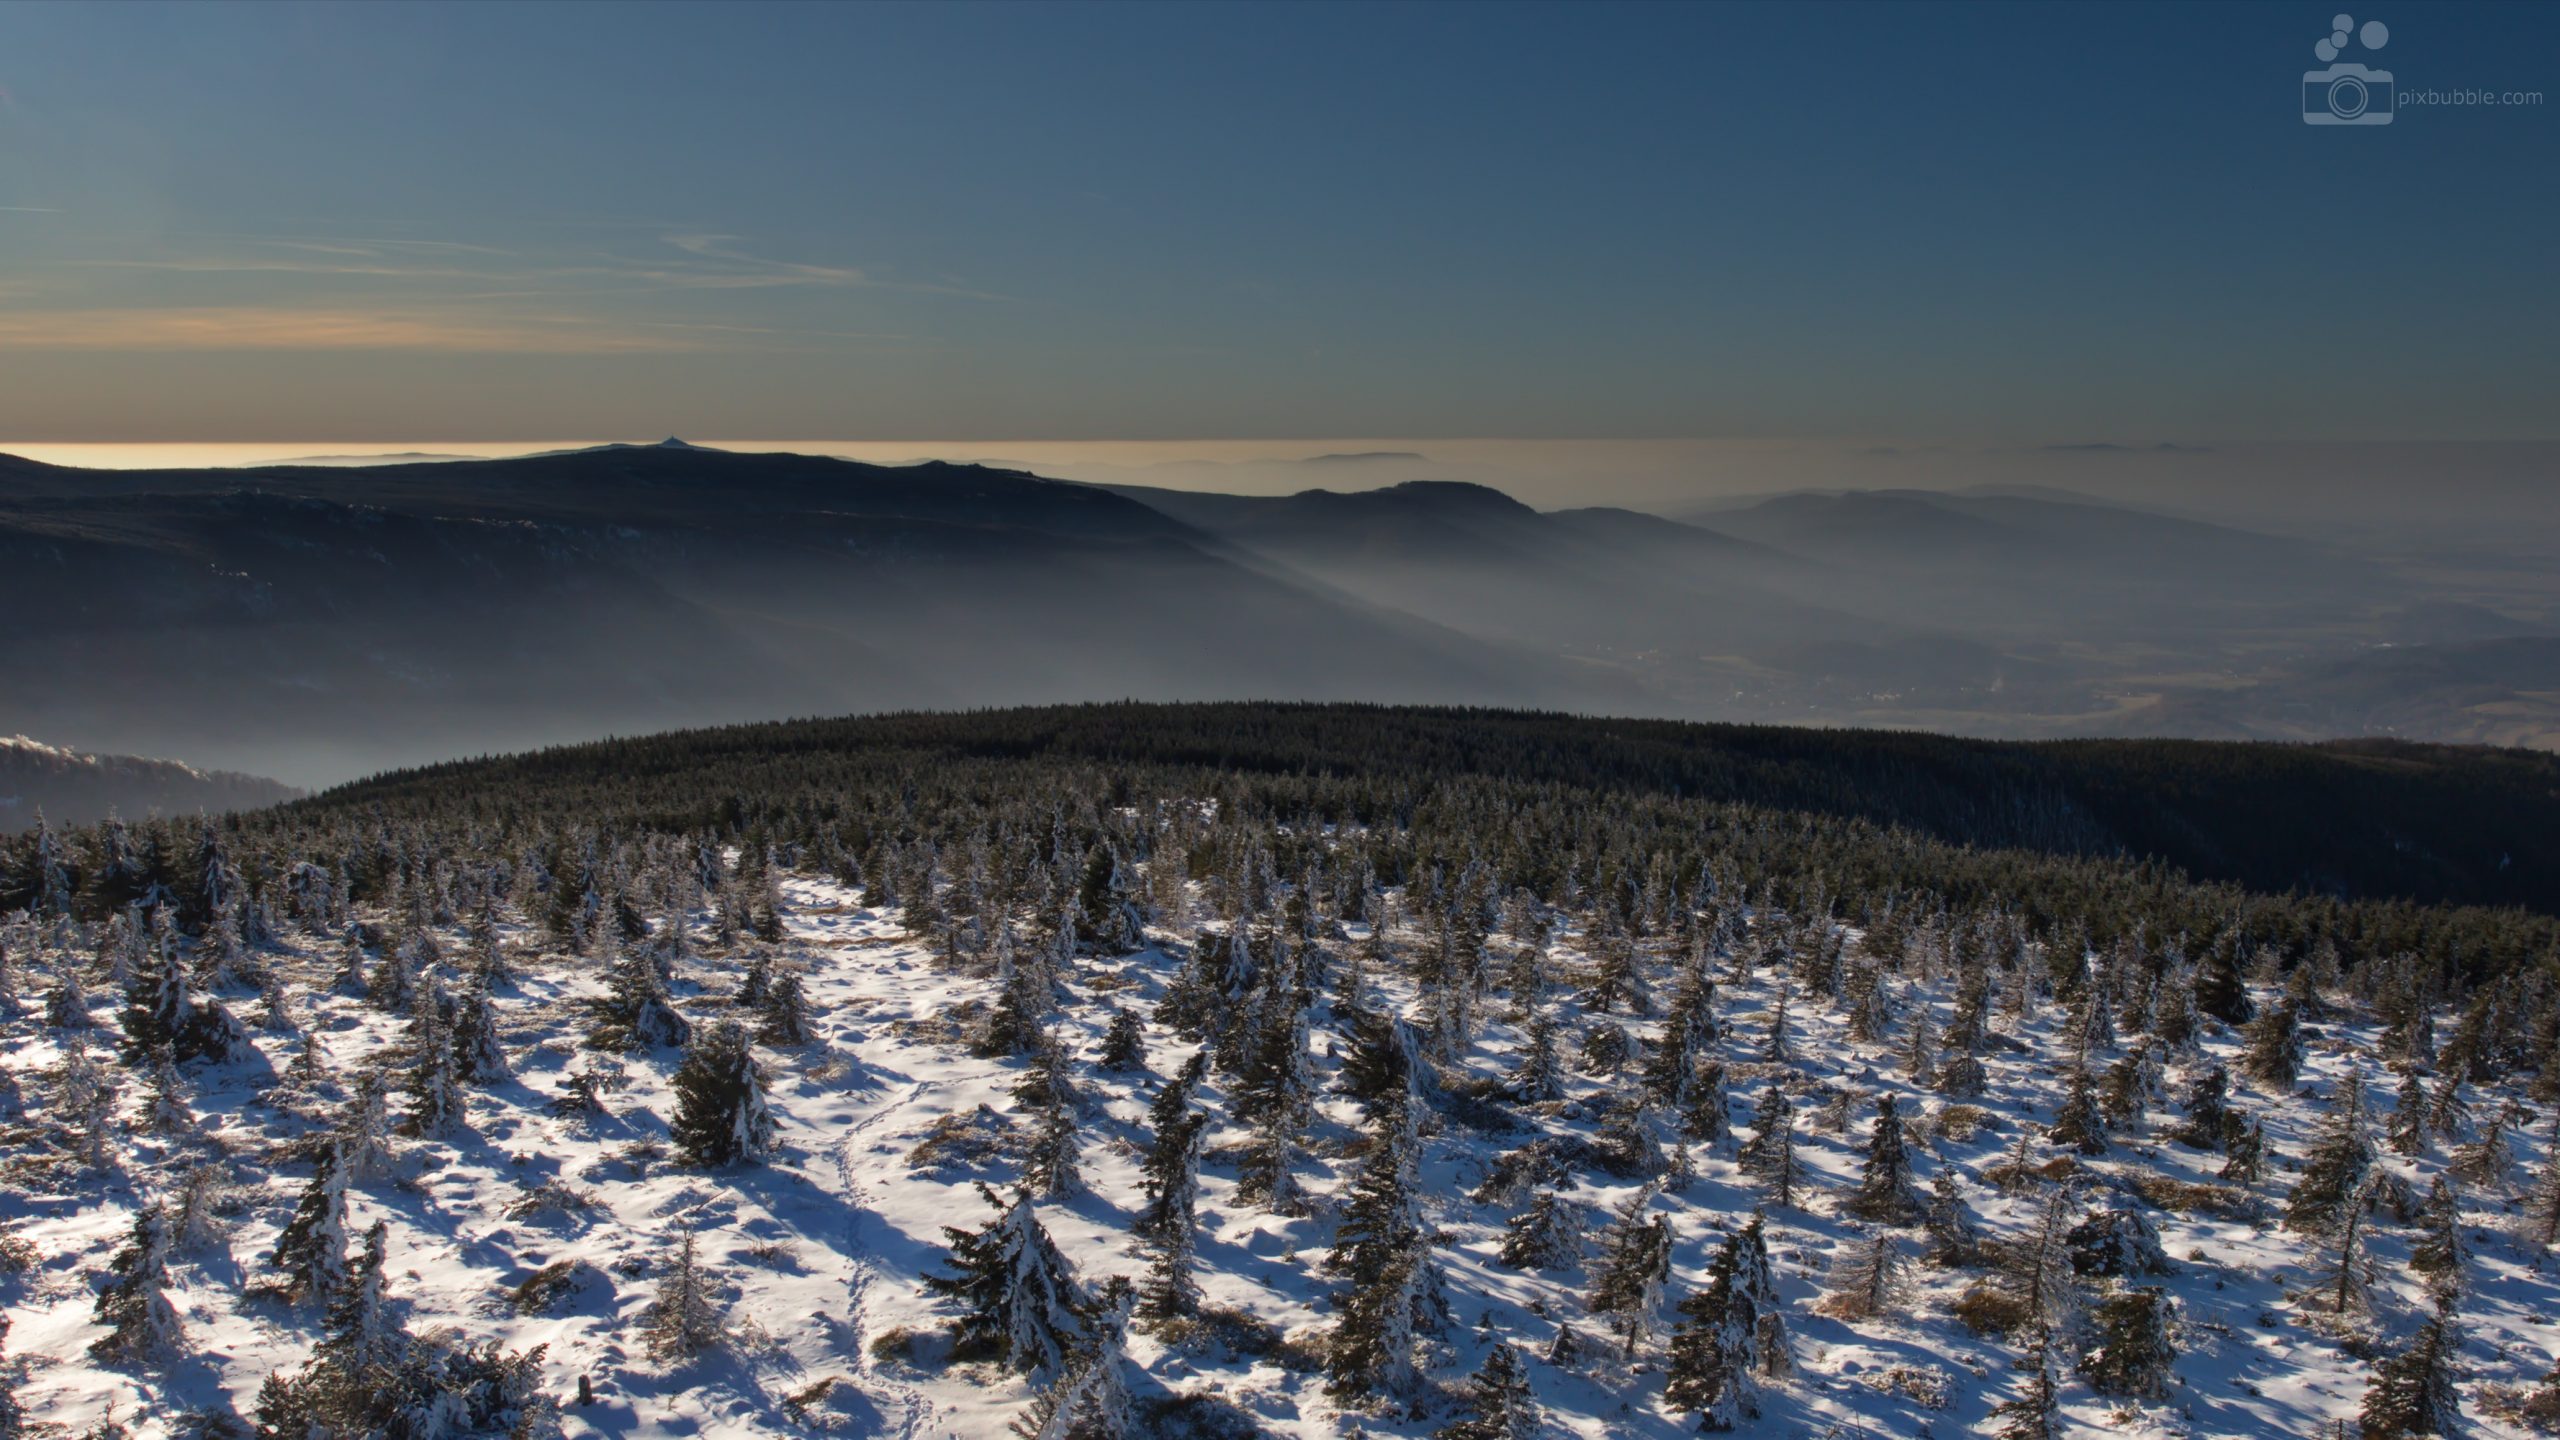
Panasonic LUMIX GX8 + Olympus M.Zuiko 12-40mm f2.8/Pro @15mm, ISO 200, 1/400 s, f/9
This week’s picture was taken after climbing over the Arlbergpass by bike in the upper part of the Lech valley. The sun was already strong and high on the sky, but a single small cloud shattered the hard light and created the lovely sunny patches which give the extra magic to this picture. There were a few things coming together for this picture.
Traveling on a bike just offers more opportunities
When traveling on a bike, several advantages help to get better pictures. First, it is almost everywhere possible to stop. While traveling in a car, you might encounter the same scenery, but it is probably impossible to stop without annoying someone and if it was, the picture was for sure taken a thousand times.
The second advantage is the traveling speed on a bike. When cycling down a valley you have some time to observe the changes going on with the light, while the composition often doesn’t change all too much. And then when the right light appears, like in this case with the single cloud obstructing the sun, you are ready to take a picture in seconds. On the other hand, you can also cover a significant distance in a short time when there is nothing to take pictures of.
Dynamic range – don’t lose your picture
Typically, landscape pictures have a wide dynamic range, i.e. the darker areas (shadows) of the picture are way darker than the bright areas (highlights).

A histogram like this shows the distribution of brightness in a picture. It basically counts the pixel for each brightness level. The more pixel fall into a brightness range the higher the corresponding bar will be. Here, we have a histogram with two peaks – a bimodal distribution.
The danger for pictures with a high dynamic range is, that the camera might not be able to capture it. Modern digital cameras are able to capture about 12 to 15 stops of brightness in a picture (a stop more brightness means twice as much light). So either the highlights or the shadows get clipped. As a consequence, larger parts of the picture will be completely black or white and the image information in these areas is just lost. It is nearly always best to avoid any clipping of the histogram, as it will produce ugly artifacts in the post-production.
Avoiding histogram clipping
I often check the histogram directly after taking the picture (for every color) for clippings. Most digital cameras have the option to do so. My Lumix GX8 offers even more means to discover clipping problems. A zebra pattern covers areas of the image on the screen that are prone to be overexposed. Additionally, a live histogram is available. With these helpers, it is near to impossible to overlook the arising troubles.
If the clipping appears only on one side of the histogram, the exposure compensation can fix the problem. By telling the camera to expose a bit less or more, it might be possible to avoid the clipping. In postproduction, the bright and dark areas probably have to be handled individually. This can be tedious, but it is at least possible.
The way to do it in-camera is to use filters with a gradient. The filter is fixed to the lens and has to be adjusted to resemble the separation of bright and dark areas. Of course, this works best for somehow straight lines. Specular highlights, on the other hand, can sometimes be controlled with a polarization filter.
Leave A Comment