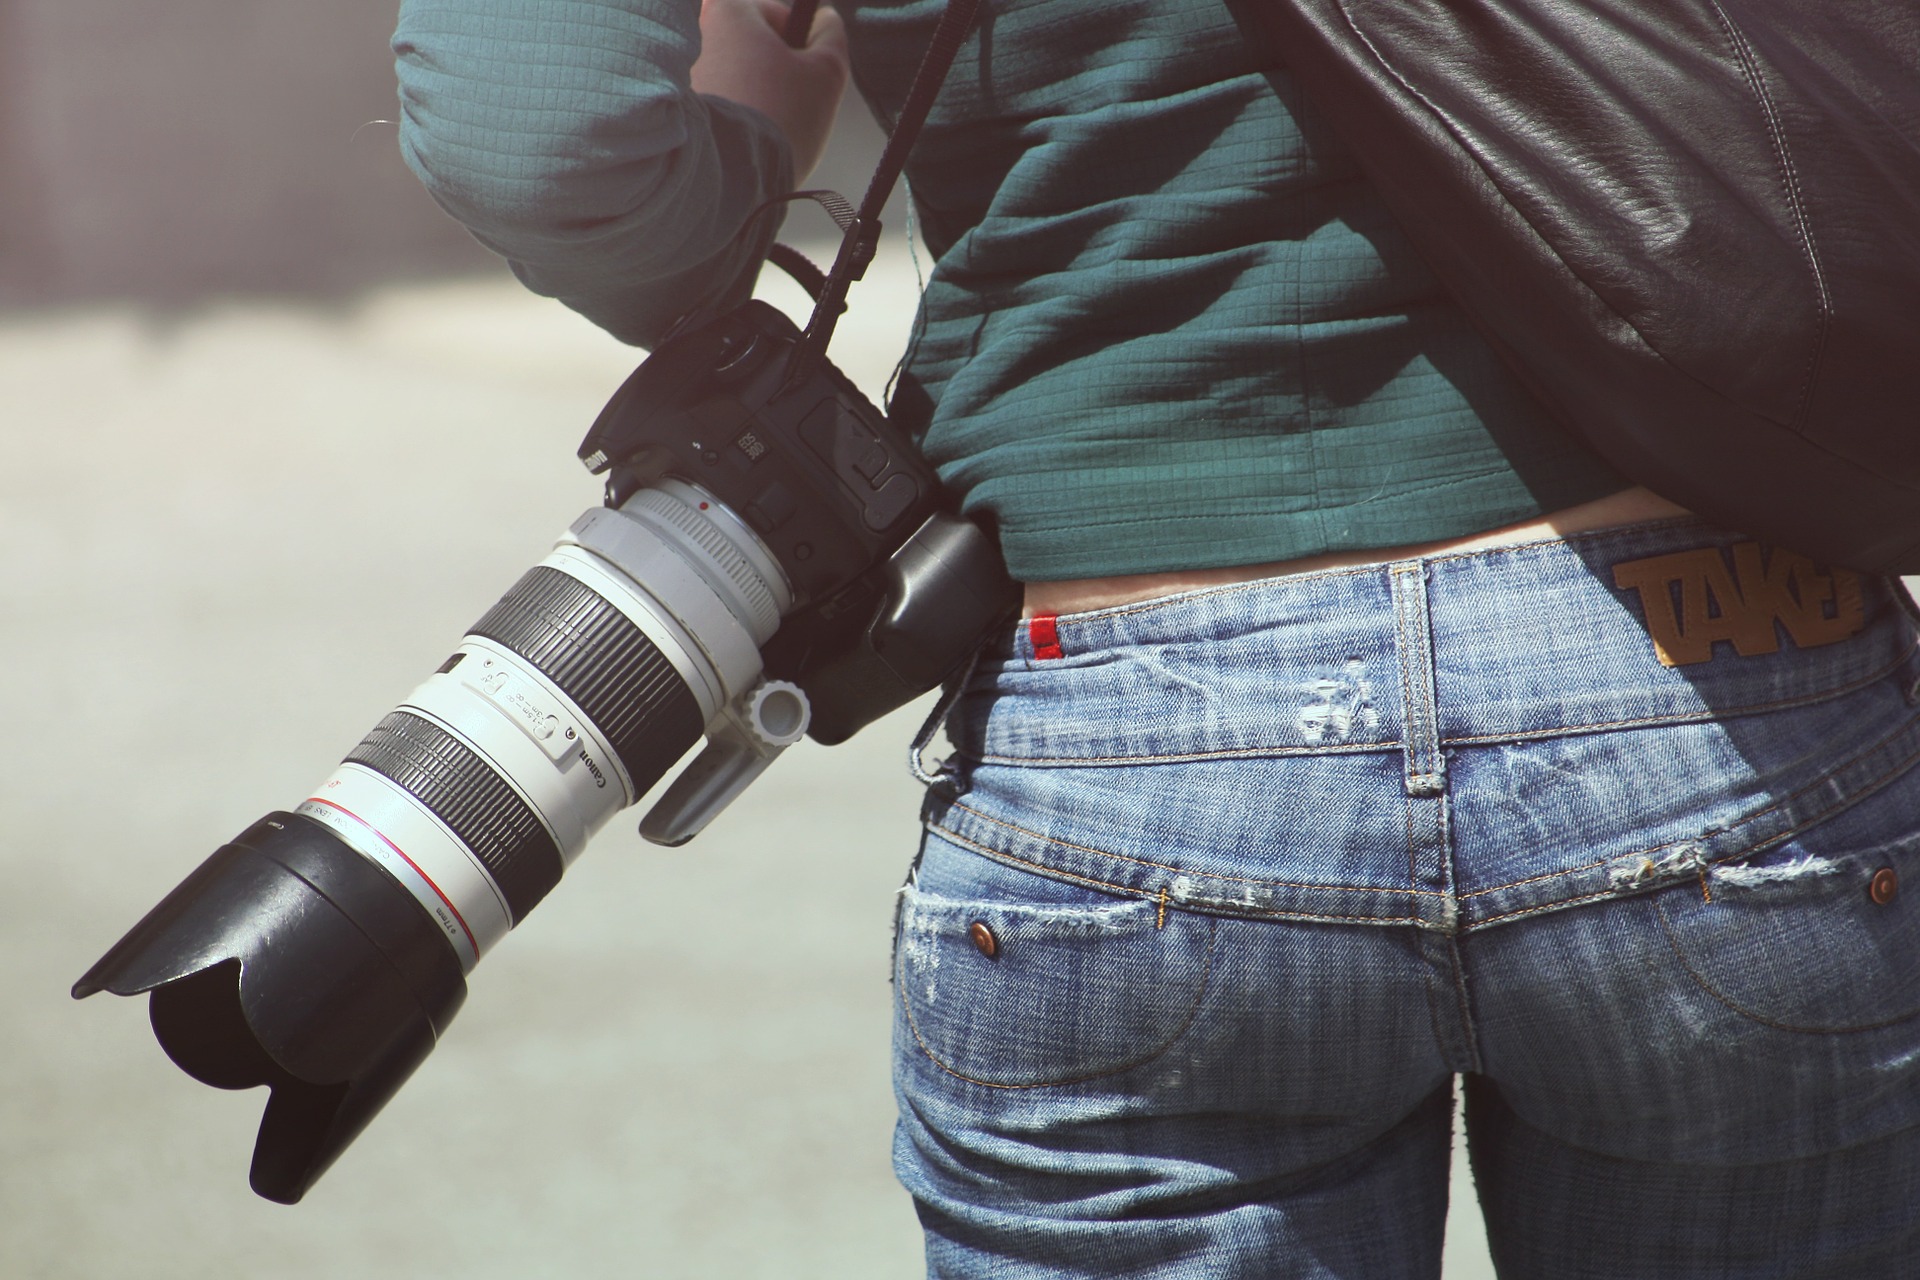
One thing I often observe: people with camera (philosophical question: what distinguishes people with cameras from photographers) leaving the lens hood turned around on the lens. Believe it or not, but the purpose of a lens hood is not to make your lens look bigger! It is there to prevent flares (straylight) from falling into the lens.
Why are flares harming the picture
Flares is light falling into the lens, which should not contribute to the image. Lens flares mainly occur when a strong light source is included in the image, but also light coming from the side causes problems. The light falls on the inner walls of the lens tube and is partly reflected and scattered. The former leads to the colorful patches of light known as lens flares. The latter travels on many different ways through the lens and partly ends up evenly distributed over the sensor. This light contributes to the picture as well as the intentiously directed light. The effect, however, is reduced contrast and a hazy look.
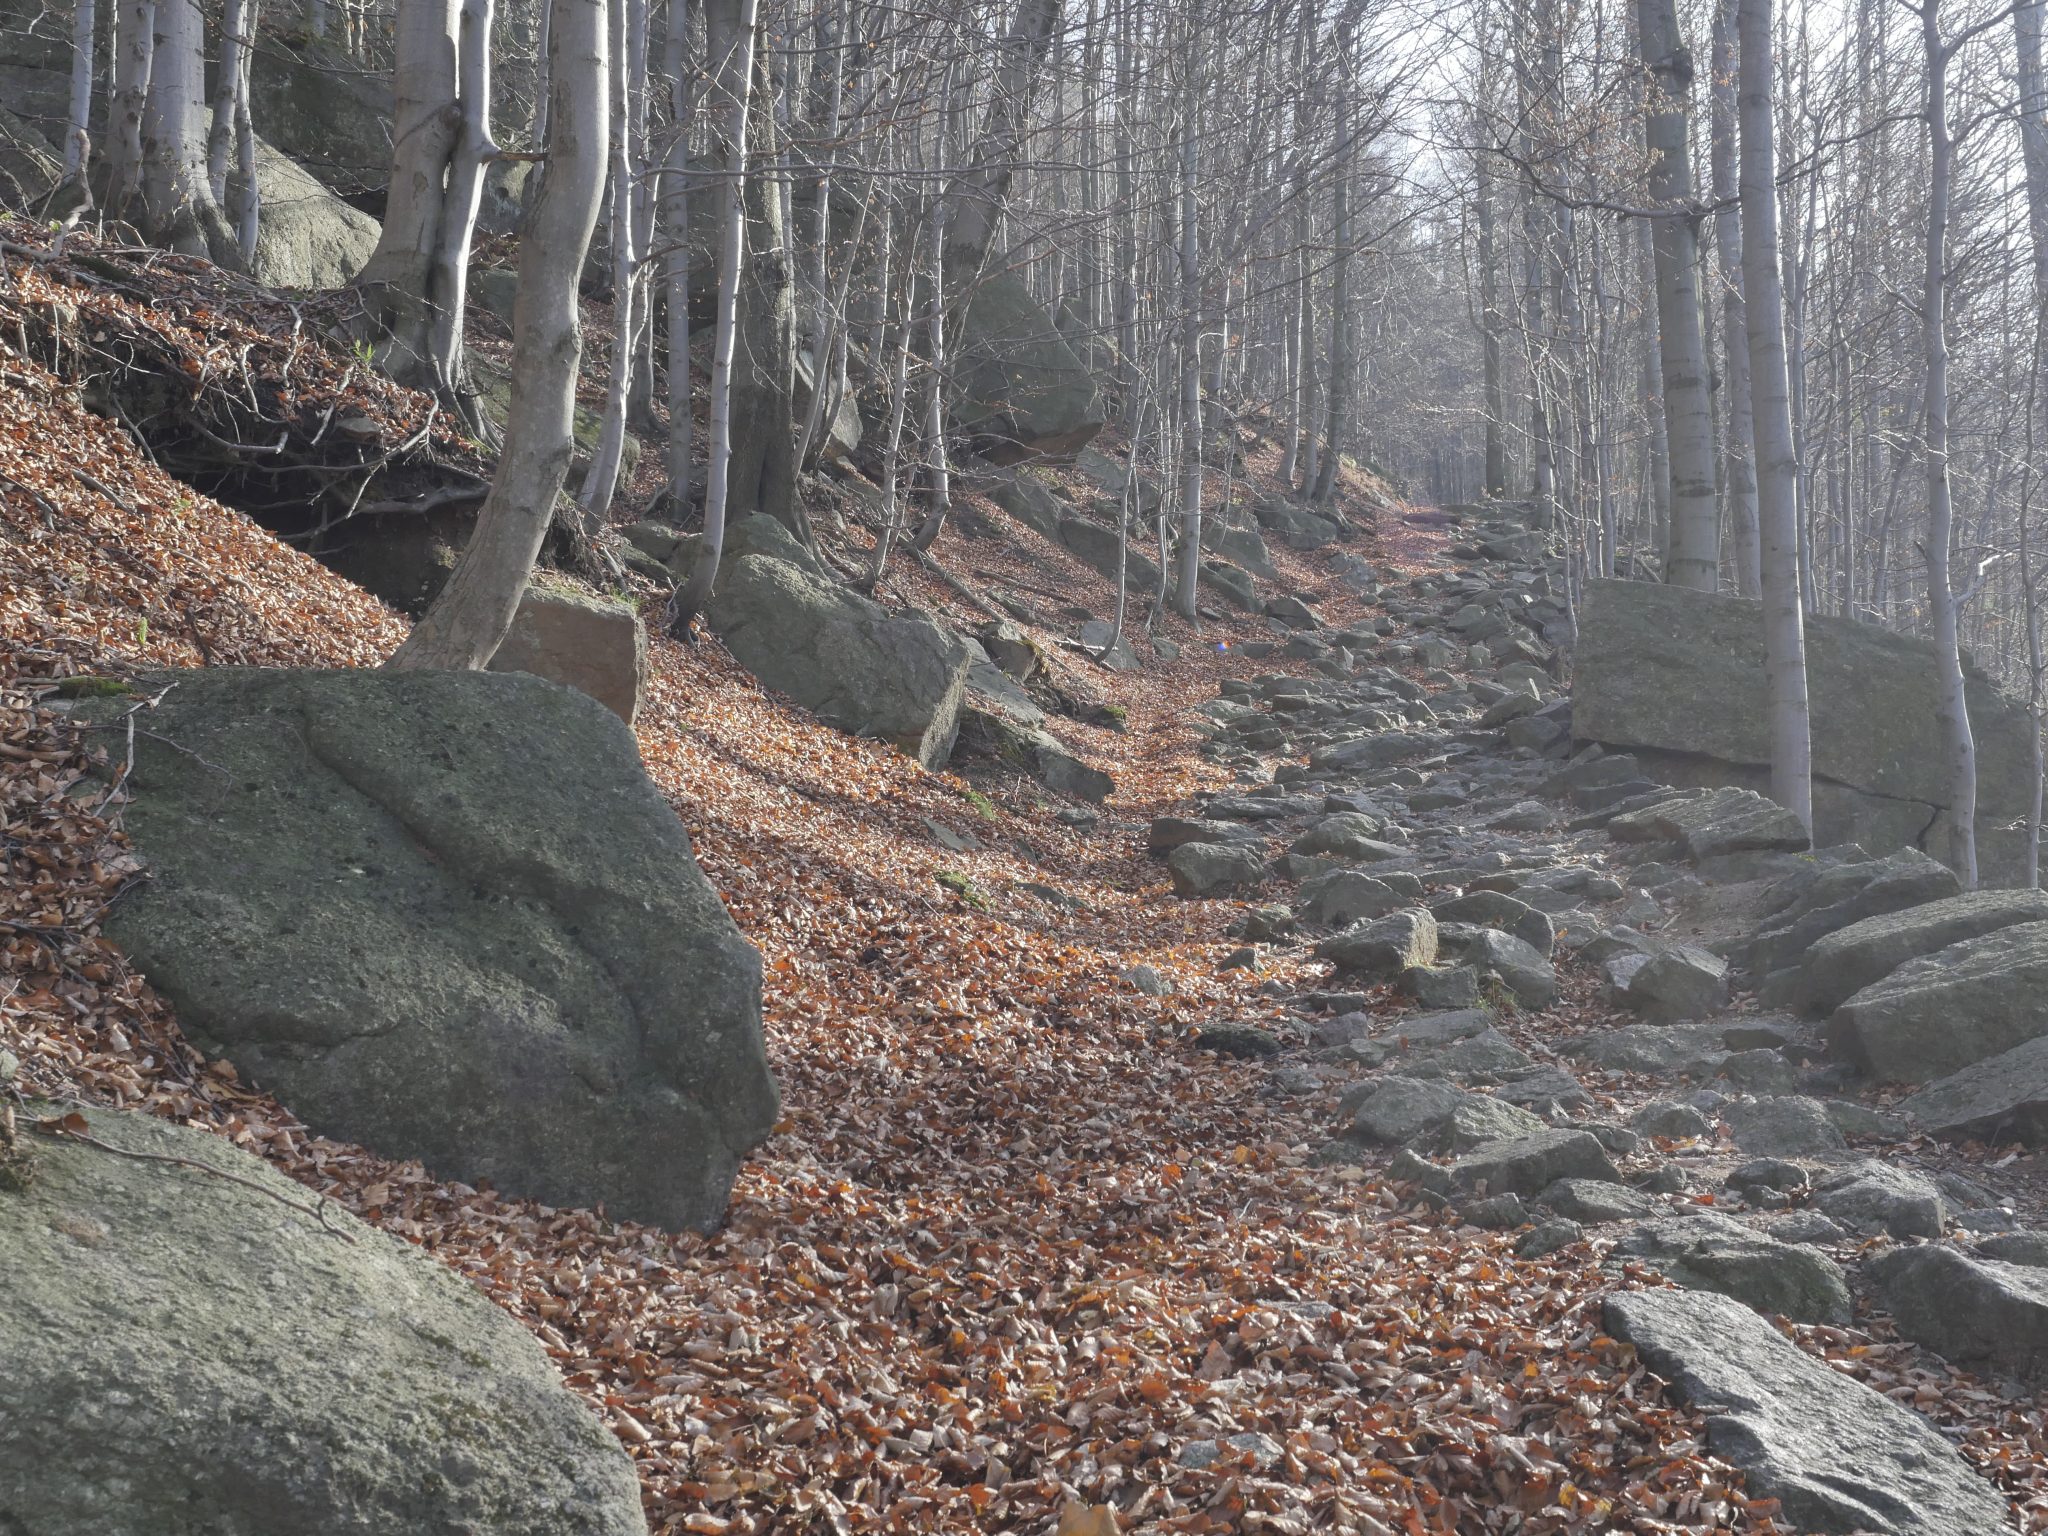
Also in shots like my Picture of the Week #2 keeping out stray light is key. In this long exposure shot, many lights of the city were around and would have reduced the image effect.
Use a lens hood for fewer lens flares and more contrast
A lens hood is most often a black plastic tube, which can be attached to the front of the lens. Thereby, it helps to keep out unwanted light from the lens and thus from the image sensor. The shape of the lens hood depends on the shortest focal length of the lens and the image format (often 4:3 or 3:2). Lens hoods for short focal lengths are typically designed with cut-outs to optimally shield the lens in this configuration. For longer focal lengths, a relatively simple black tube suffices.
It helps also to stand in the shadow. Then the stray light has even less chance to sneak into the lens. So, when you check the picture after taking and it got flares or stray light, you might want to create some shade for the lens by e.g. holding your hand to the side of the lens where the light is coming from.
On gray overcast days, the stray light comes actually from the whole cloud covered sky. This will not result in colored spots, but anyway reduce the contrast of pictures.
To find the right lens hood for you, just search for lens hood <your lens name>*. It is important to use the right one for your lens.
Throw out the UV-filter your dealer sold you for lens protection
It will not protect the lens from serious impacts anyway. In terms of flares, the filter is guaranteed to have a negative impact. Lens manufacturers spent a big effort to reduce flares using coated glass elements. I don’t expect that filters will be of similar quality. So if you don’t have a special reason for that filter (dirty or wet environments), leave it off and take the lens hood instead.
When the hood is properly installed, it will also provide some protection for the front element against impacts like bumps. I personally noticed that it also prevents fingerprints and raindrops.
Being ready for the shot
With the lens hood mounted, I see no objections against carrying the camera in the bag without a lens cap. Then you can pull out the camera and take a picture very quickly. Leave the camera in some mode useful for general situations (aperture priority with small f-value or shutter speed priority and auto ISO) and you don’t miss that awesome moment next time.
A word of warning
Make sure the lens hood is mounted correctly and locked in the final position. If it is rotated wrongly it might ruin the picture. When using a short focal length, a strong vignette might appear as part of the lens hood enters the frame.
I hope you enjoyed this post and consider using this underestimated piece of equipment. If you know someone who could profit from this, feel free to spread the word. Thank you!
Jan
* affiliate link. You can support this site by purchasing something through this link.
Leave A Comment