One of the most common reasons to discard a picture is its lack of sharpness. In this article, I show you how to get as sharp images as possible. Of course, the sharpness is limited by the resolution of your camera and the quality of your lens, but most often other factors are dominating and if you know your camera well, you can gear the settings towards its sweet spot.
Focus – sharpness where you want your image to be sharp

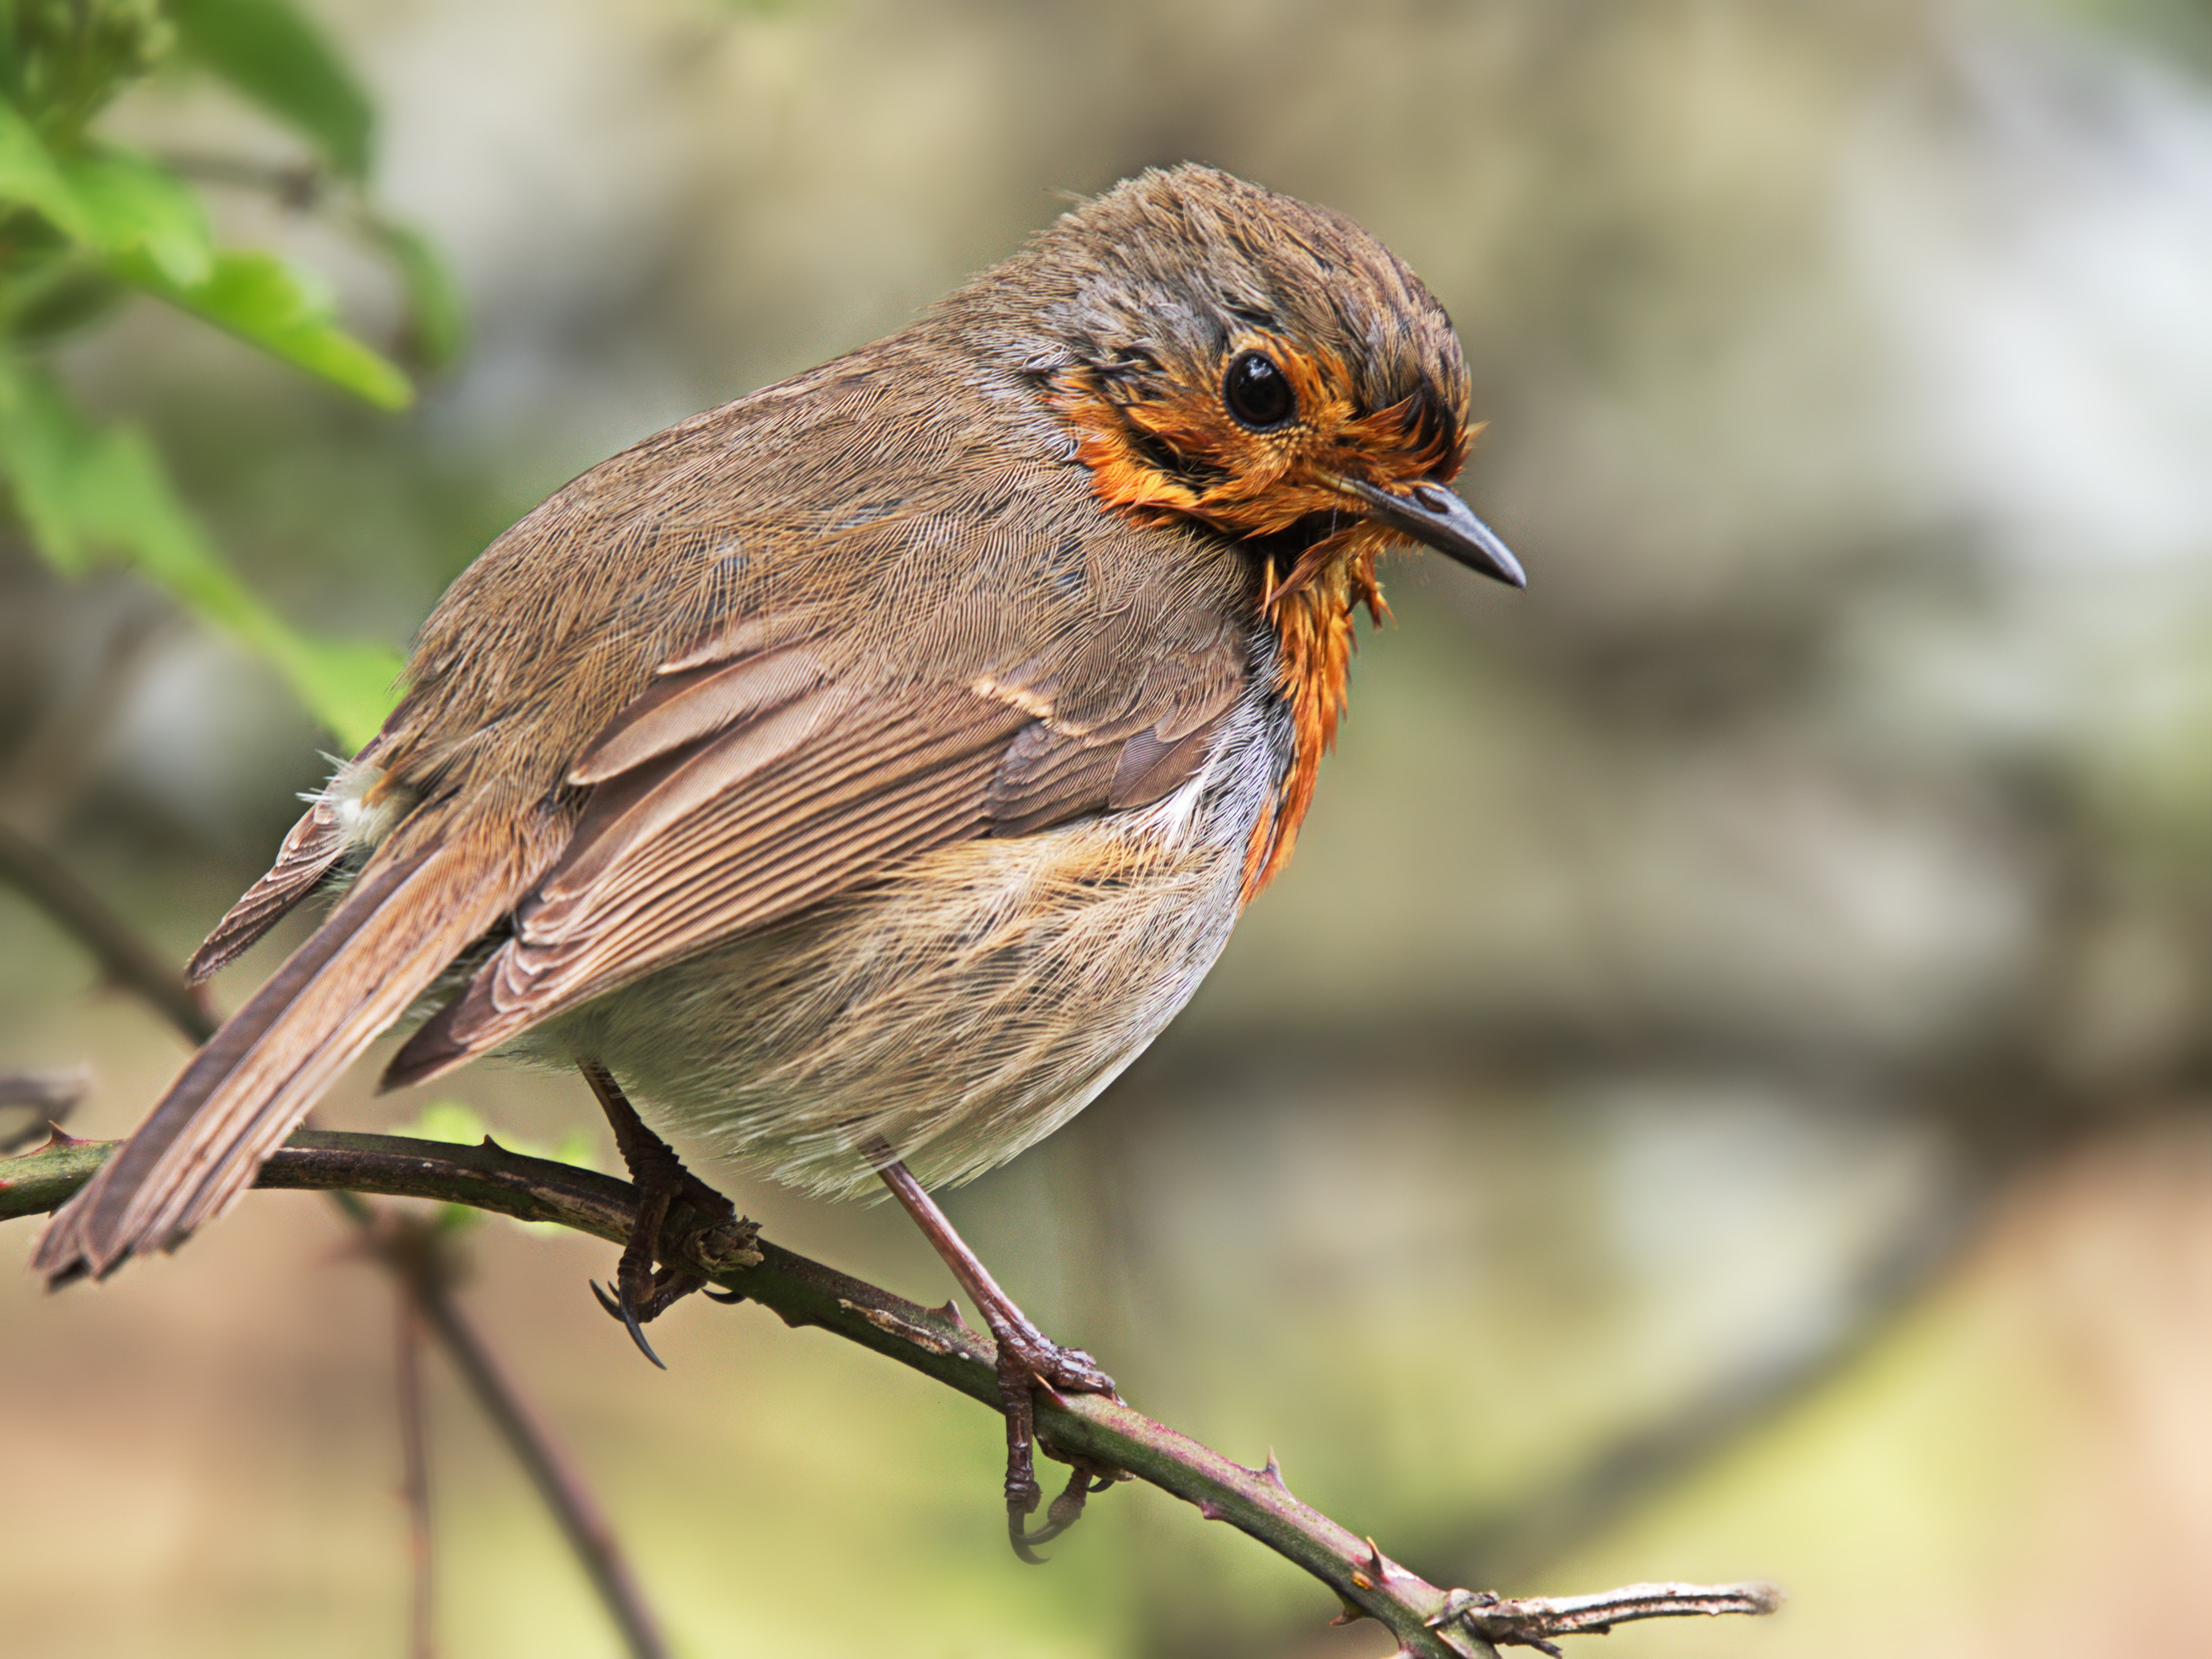
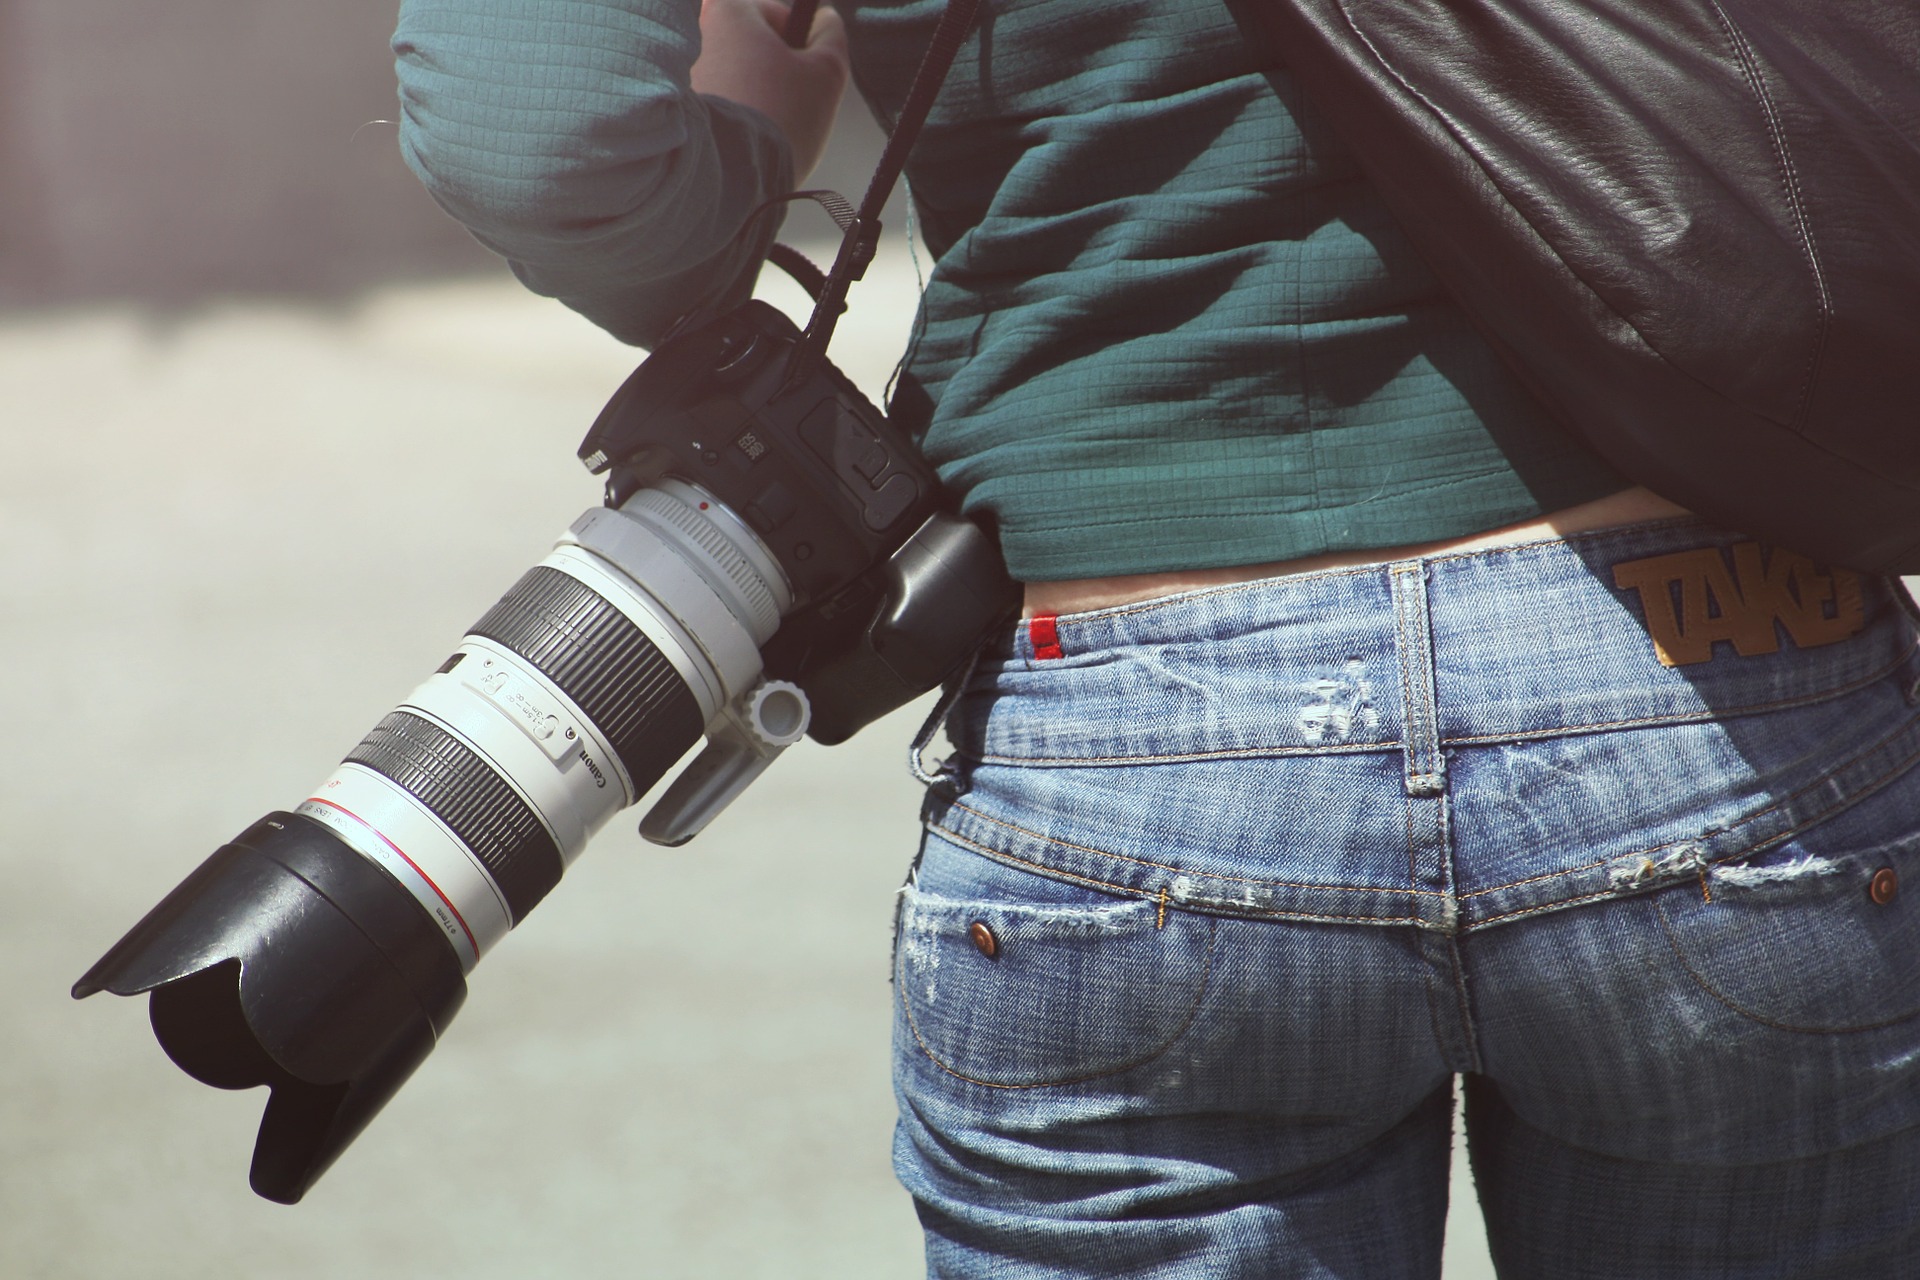
A normally well-hidden insect with the focus perfectly on the eyes
A very common problem is a wrong focus. Something is sharp, but the wrong thing or not everything which should be. The problem: your cameras’ autofocus didn’t know on which part of the image to focus. For portraits or close up wildlife and macro photography, you often want a small area, i.e. the eyes, in focus. The easiest way to make sure that your autofocus is not fooled here is by selecting a single autofocus field. While taking the picture, you just make sure that your focus point is in the field. Then, everything in the same plane in front of your camera should be in focus. If not, you might be too close to your subject. If your subject is moving: Don’t wait after focussing or refocus! For really challenging situations, you should have a look at back button focusing as it enables shooting without refocusing.
All lenses have a minimum focusing distance which is noted on the front of your lens. You can’t go closer, so don’t try it ;)
Note, that the sharpness decreases before and beyond the focus plane. What if want to photograph two subjects at different distances? Not a common problem? Well, its a typical issue in travel photography: You in front of the statue of liberty, but either you or the statue is out of focus. What to do about it? Here are the things that will help you increase the depth of field.
- use a smaller aperture (higher f-stop) – go to aperture priority mode for that (try f9)
- Step back! The distance will help you to get both subjects sharper.
- focus between both objects. The key word here is hyperfocal distance. If you are interested, read on here, but be aware, that this is in practice not totally easy. Many cameras have an “A-DEP” mode which tries to apply this for you and get everything from front to back sharp. You can also try the landscape mode under “P.” The pragmatic way: Focus on a point one-third of the distance between the subjects behind the closer subject.
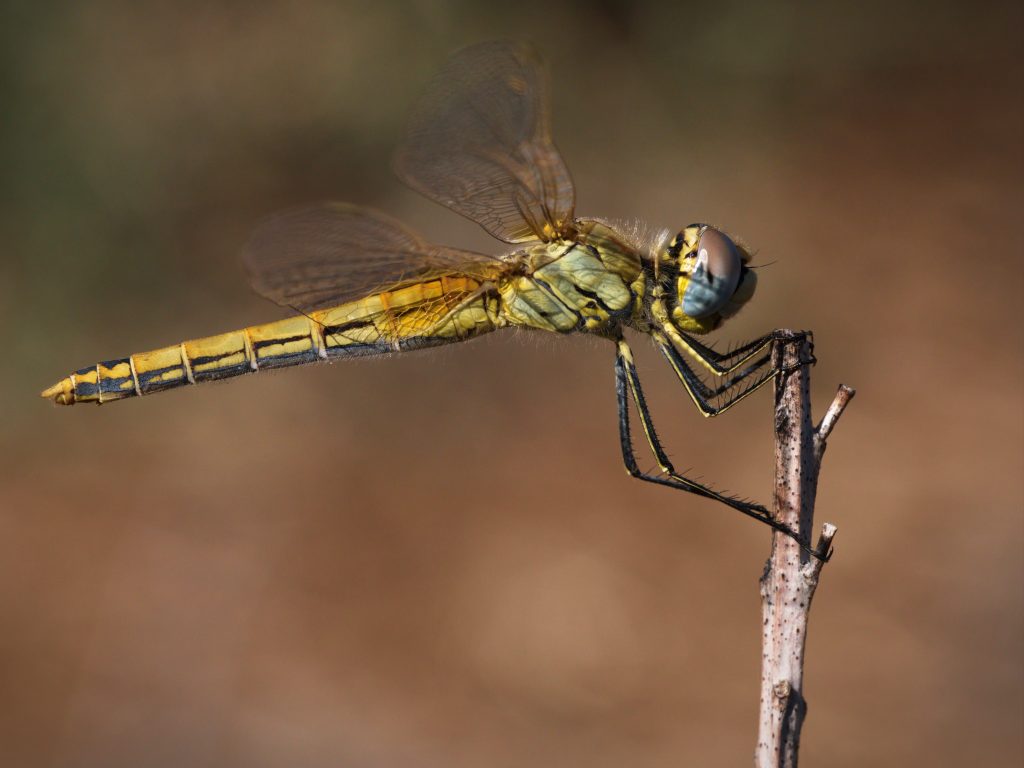
The shallow depth of field in macro photography requires often to align your subject with your focus pane to get it sharp
Camera shake – prevent unwanted camera movements for sharp images
The second and maybe even bigger problem is camera shake. Camera shake is the movement of the camera while the shutter is open when taking the image. For slow shutter speeds, this may ruin your image by blurring everything.
How to avoid it:
- Shoot in shutter speed priority mode at a shutter speed faster than 1 / equivalent focal length sec
- Hold your camera steady: Lean against a wall, pull camera to front against your camera strap around your neck
- Enable your cameras image stabilization
Use a tripod at low shutter speeds:
- Use a remote control or the two-second timer,
- use the electronic shutter,
- use the mirror lockup (for DSLR cameras),
- and switch off image stabilization.
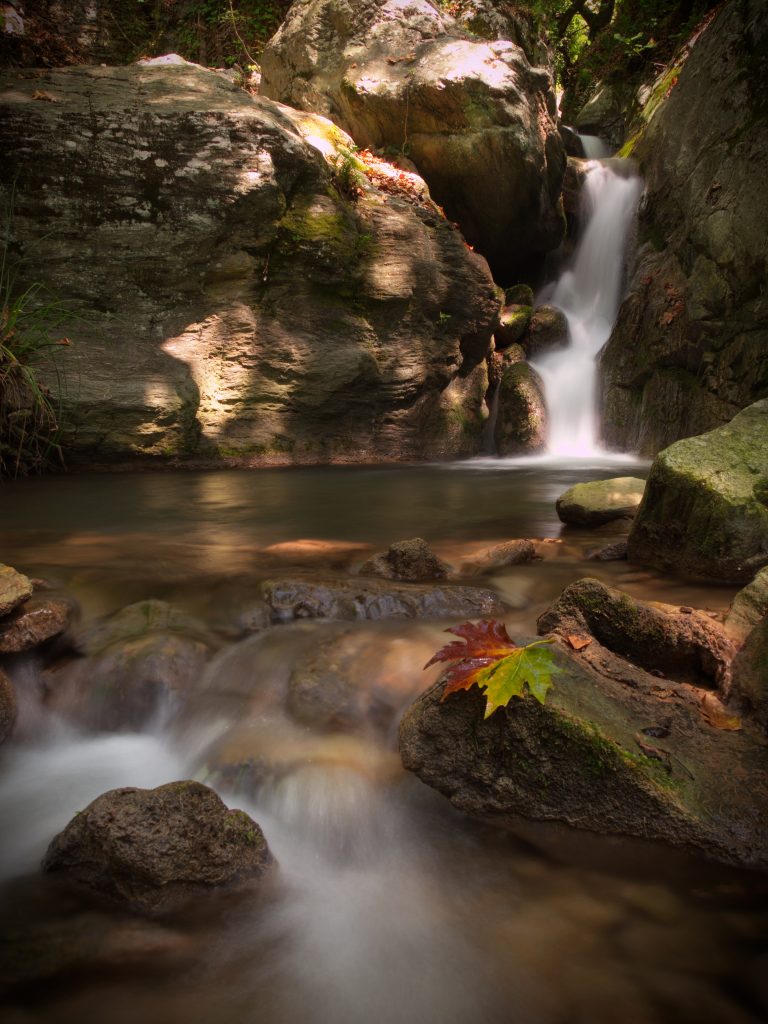
The long exposure nicely blurs the water, while the rocks are sharp.
Moving objects not only move out of focus but also cause motion blur at slow shutter speeds. To freeze the motion, you often have to shoot as fast as 1/1000 s or below. You can use motion blur to create an artistic effect (soft water, turning car wheels, fireworks). Also, when you use a flash at a longer shutter speed, the subject will seem kind of sharp, but you get an often nice motion blurring in front or behind the object (depends on flash synchronization).
Lens and Camera
Did you get your focus and shutter speed right? Still not amazed? It may be, that you experience the limits of your gear. But before you order new stuff, read on! Here are some more tips.
Every lens as a limited optical resolution (read a test report for your lens) which varies with the settings. In general, the weaknesses of a lens are more visible wide open (big aperture – low f-stop) and at the lower end of the focal length. Try to stop down one or two stops (use smaller aperture – higher f-stop) to f5.6 or so and zoom a bit closer and the image quality should improve. But be aware: Stopping down too much (way beyond f11) brings up the problem of diffraction which also kills your sharpness.
Check also your camera settings: You can set the resolution to high and the JPEG compression to fine. If you take pictures in RAW (and read until here), please note, that raw images ALLWAYS need sharpening in post-processing.
Leave A Comment